Matt's Old Cars.com
Fiddling with Rambler's since 1995
Project Charity: AMX
Technical Information
Photo Gallery
Rambler American Restoration
1978 El Camino
1967 Rambler American
2007 Dodge Ram
1984 Dodge Ramcharger
Links
FAQ
Send me an e-mail:
Contact Form
Back to American Restoration Index
Heater Box
Part 1 - Heater Box Disassembly
March 25, 2008
Last Saturday (March 22nd) I drove the wagon to a club meeting. It was dark when I returned home and when I turned my lights on, the left turn indicator was glowing and the left side of the dash was dark. Having been through this with Kermit, I knew the problem was a bad ground. Sunday, before heading over to my parent's house for our Easter get together, I decided that it would be a good idea to clean up that ground.
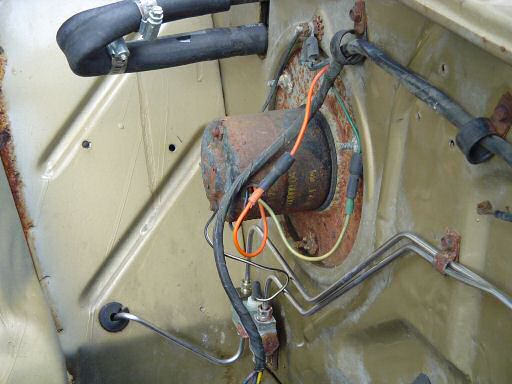
As you can see in the above picture, the dash ground (as well as the one for the blower motor) attaches to a stud above the blower motor. Taking it apart wasn't a problem (in fact, it all cleaned up pretty easily) but when I tightened the stud, it snapped off. As it turns out, the stud is attached to the heater box and the only way to replace it is to take the heater box out and take it apart.
The actual removal process is easy: drain a half gallon of coolant, disconnect the heater hoses from the heater core, disconnect the wiring, remove the blower motor, remove the nut from the ground wire stud, remove the glove box, the air door cables, and the screws holding the heater box to the car (there are 5). It will then drop down and come right out. I think it took me about 45 minutes to get it out.
The next picture shows the heater box oriented like it is in the car. There are three metal plates on the firewall side and the left and center plates need to be removed to replace the broken stud.
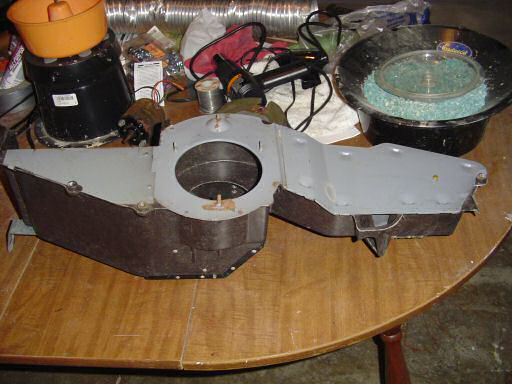
Start by center punching and drilling out the two rivets attaching the left and center sections. The left section slides out of the way.
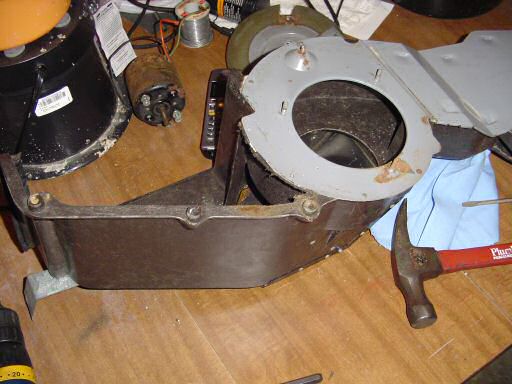
Next, center punch and drill the four rivets holding the center section to the heater box. You can remove the center section by wiggling it out from under the right section. You can now see the main air control door through the hole in the blower motor cavity.
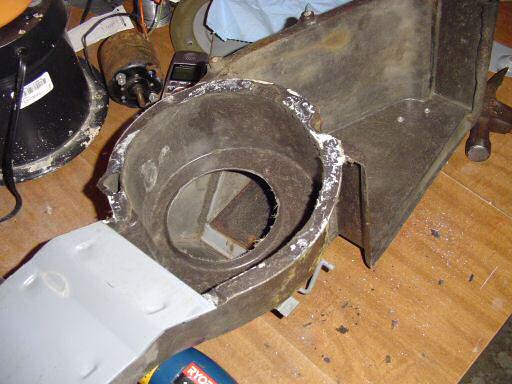
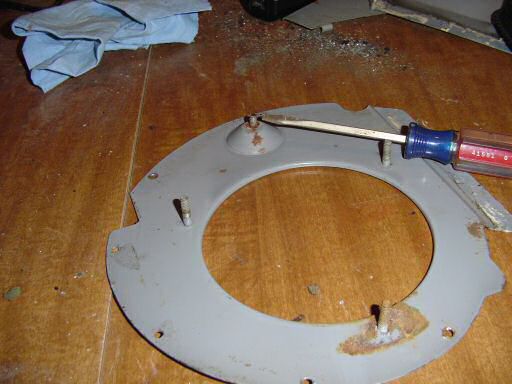
I'm going to replace all of the foam seals so I'm going to remove the right section as well. This is done by gently bending the retaining tabs out of the way. This exposes the heat/defrost blend door. There is supposed to be a foam seal where the door touches the heater box in defrost mode (shown below) and on the leading edge of the door so it doesn't clank. The door can be removed at this point.
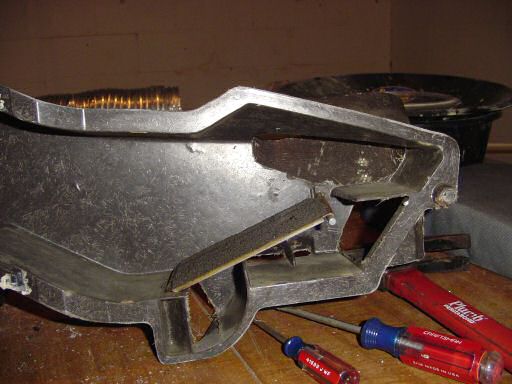
Here is the broken stud (the screwdriver is pointing to it). This is sort of like a screw (it has a head but no way to drive it) but it is spot welded in place. The next trick is removing it without damaging the housing.
That's it for now. The next steps will be to replace the broken stud and
clean everything up.
Up next: Blower Motor Disassembly.
Last Updated 03/27/08 09:19:21 PM