Matt's Old Cars.com
Fiddling with Rambler's since 1995
Project Charity: AMX
Technical Information
Photo Gallery
Rambler American Restoration
1978 El Camino
1967 Rambler American
2007 Dodge Ram
1984 Dodge Ramcharger
Links
FAQ
Send me an e-mail:
Contact Form
Back to American Restoration Index
Carter Dual Action Fuel Pump Rebuild
Part 1 -
Disassembly
September 15, 2010
After finally getting my 67 American put pretty much back together, I took it to American Parts Depot's annual open house. When I opened the hood of the car on the show field, I saw that I had an oil streak that started at the fuel pump and worked its way back on that side of the engine (it also sprayed oil all over the oil filter and firewall). It looked like I just had an oil leak where the fuel pump mounted to the engine but on the way home, the car started using a lot of fuel and stinking like gas. It was pretty clear then that the oil was coming from the fuel pump itself. Yesterday, I went out to look at the car and saw a stain on the garage floor under the fuel pump (not to mention a really strong gas smell). Once I had the fuel pump off, I noticed it leaking from the vent hole so today I ordered a fuel pump rebuild kit from Then & Now Automotive.
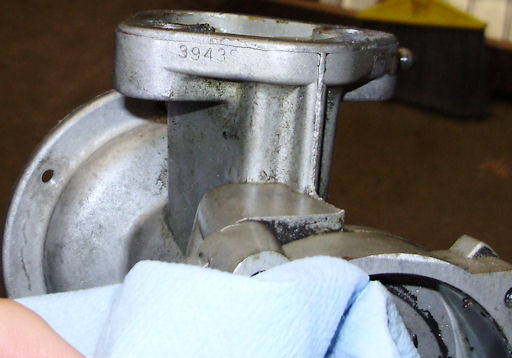
Before you call, you'll need to get the model number off of the pump. On Carter pumps, this is located on the top of the left mounting ear as seen below.
The other ear has a date code on it.
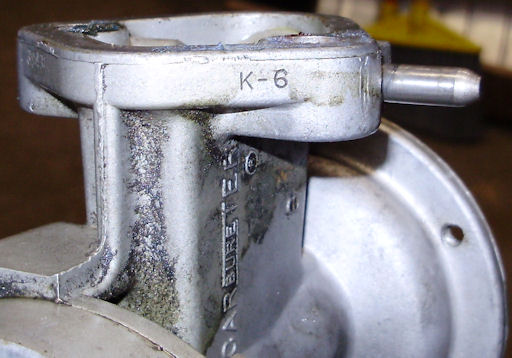
Mine is K-6 which decodes to November 1966.
It will take a couple of days for that to show up so in the mean time, I'm going to take it apart, do an inspection, and clean all of the parts. Tonight's job was to take it apart and do a quick inspection (I'll do another once it is cleaned up).
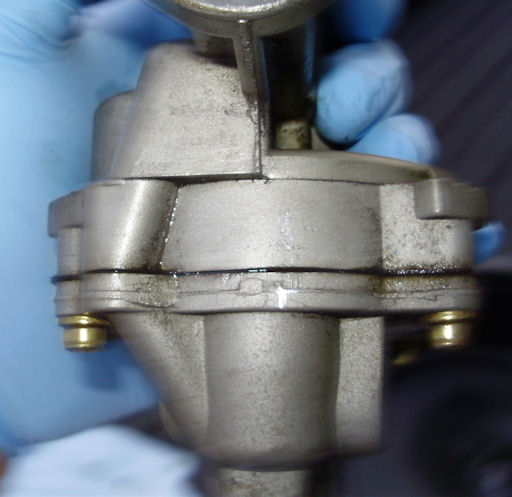
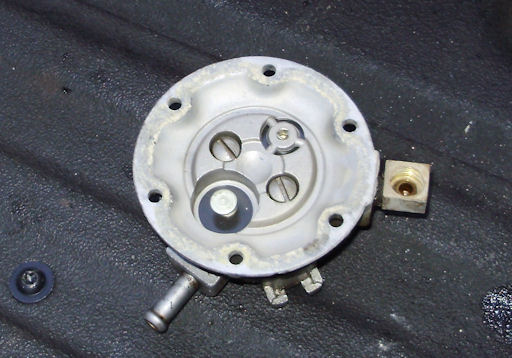
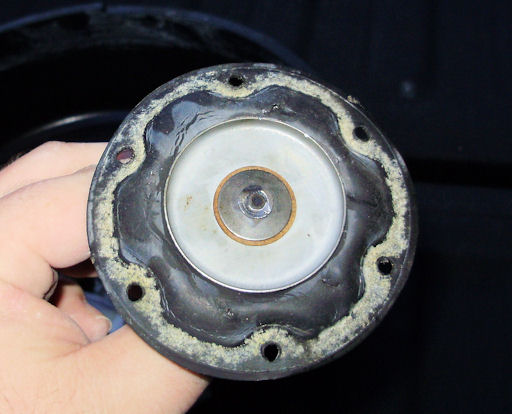
Here's what I started with:
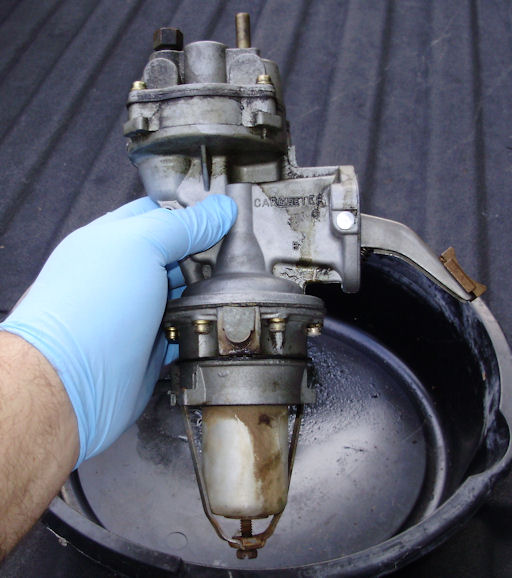
You can tell where the gas was flowing over it (the vent hole is on the outside edge, blocked by my thumb in this picture). Also note the rust stain on the fuel bowl. This is caused by a poor seal between the fuel bowl and the pump. In this case, it is caused by a deformed fuel bowl due to over tightening the screw that holds it in place.
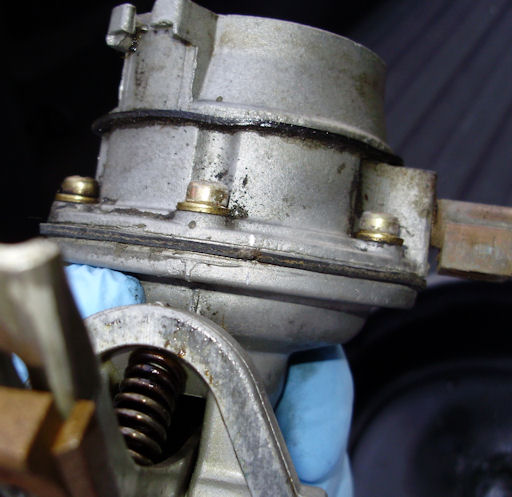
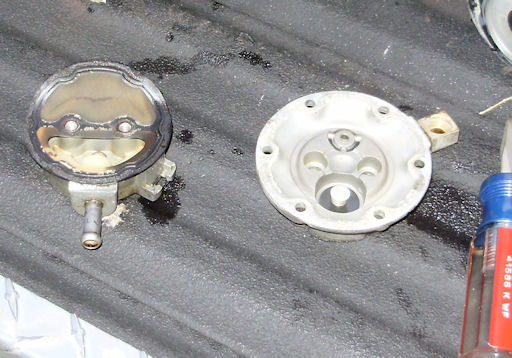
The first step is to loosen the screw at the bottom of the pump and remove the fuel bowl and strap (this will take some wiggling).
Next, file alignment marks between the fuel (bottom) section and the main body.
Then file more alignment marks between the vacuum (top) section and main body.
Remove the 6 screws holding the fuel section to the main body. Note: This diaphragm is spring loaded so keep a hand on the fuel section of the pump and back the screws out evenly.
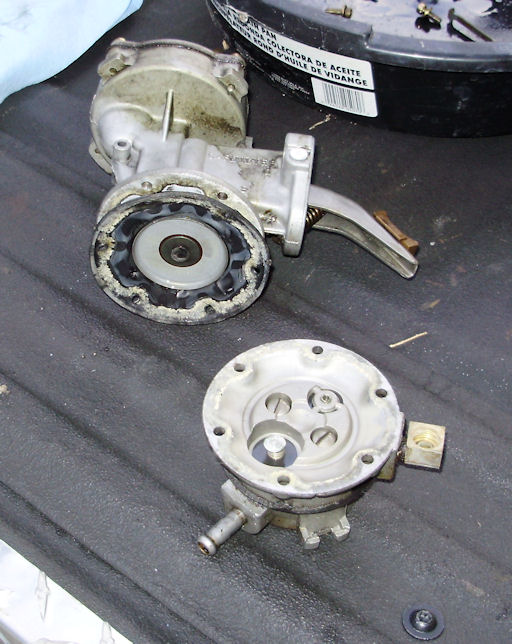
Remove the 4 screws holding the vacuum section to the main body. Note: There is a spring between the top of the vacuum piston and top of the vacuum section so keep a hand on the fuel section of the pump and back the screws out evenly.
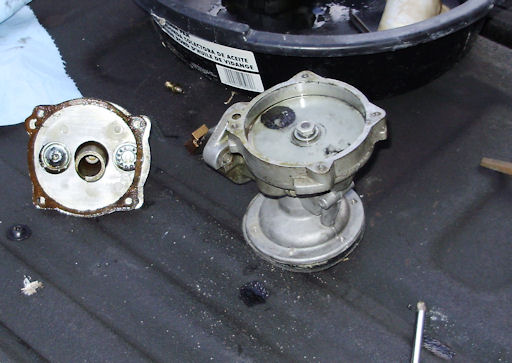
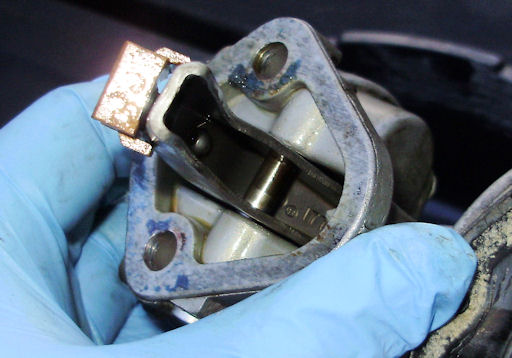
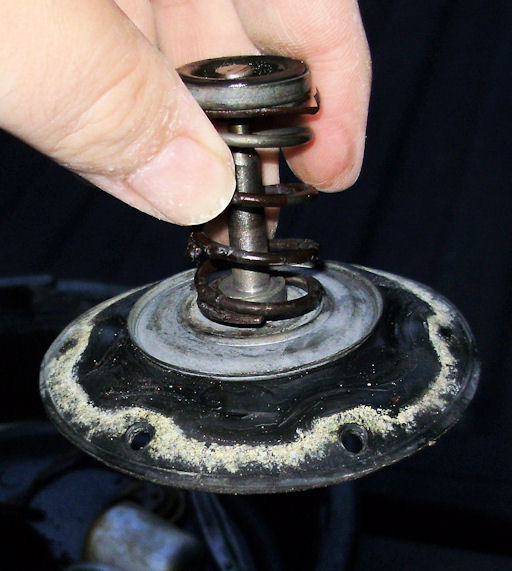
Push down on the pump arm to raise the piston as far up in the bore as it will go, grab the nut with a pair of pliers, and twist the piston to remove it.
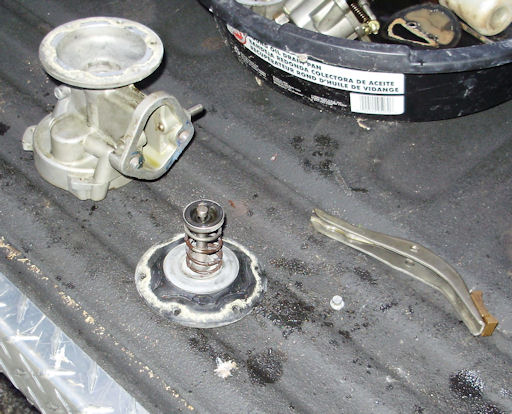
Remove the two screws holding the fuel section together.
Separate the two halve of the fuel section.
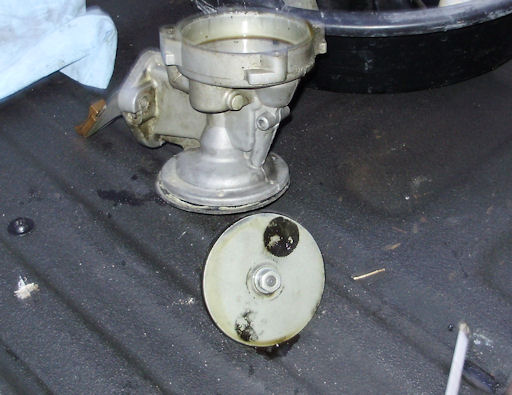
Next, gently pry the pump arm return spring out. It fits over two nubs (one of the pump arm, the other on the pump body). Mine came out pretty easily with a small flat head screw driver.
Finally, use a drift (I used a 5/32" drift) to drive the pivot shaft out far enough to remove the pump arm (you'll need to wiggle it out). There is also a plug over the end of the shaft that will come out when you drive the pin out. Note: The pump diaphragm is spring loaded and it will fly pretty far (you guessed it, first hand experience) if you don't have a hand on it.
At this point, the shop manual says you can stop. I may do some additional disassembly based on what comes with the rebuild kit.
Here's the bottom side of the diaphragm which is exposed to fuel. It has 3 holes and some cracks in it. I'm surprised that this pump was able to supply fuel on the highway.
Here's the top. I saw 1 hole and lots of cracks here.
Up Next: Final disassembly
Last Updated 09/25/10 09:38:39 PM