Third Report of Work Done - East Bridgewater Stop
Another workday and Hanna is coming along quite nicely. Today it was time to fit the panels before work is done on them. Now you might think this is a waste of time, but there are a few reasons to do this. Number one, it is an old car with some panels off of other cars. Who knows what shape the other car was in that these panels came from. Plus, we already know a quarter panel has been replaced on this car-will the gaps be correct? Plus, the hinges were very worn and are now rebuilt. Are they bent or damaged? This process should only take a few hours if everything fits right, more if work has to be done to them.
First, a door will be hung. this is pretty easy-just move the hinges in a position they would be in if the door was shut, lift up the door, and install the bolts. Remember, the striker should be removed as it will try to "center" the door to it's location, which may or may not be correct. There is a plate on the inside of the door with threaded holes where the bolts are installed. You could not just install the bolts on just a door as the metal is too thin and would rip. This plate clamps the door between it and the hinge. It also has a little play in it to allow for adjustments. You may have to use a small tool to align the plate with the holes to get the bolts started. I install two upper bolts and two lower bolts (actually, there is only two lower bolts on 69 and 70 doors). Tighten them up and look at the door gaps. Here is what I had:
First,
the rear of the door is too high:
Before you adjust this, you have to look at the front of the door. this
will tell you if the whole door is high, or just the back. So here is the front:
And the bottom:
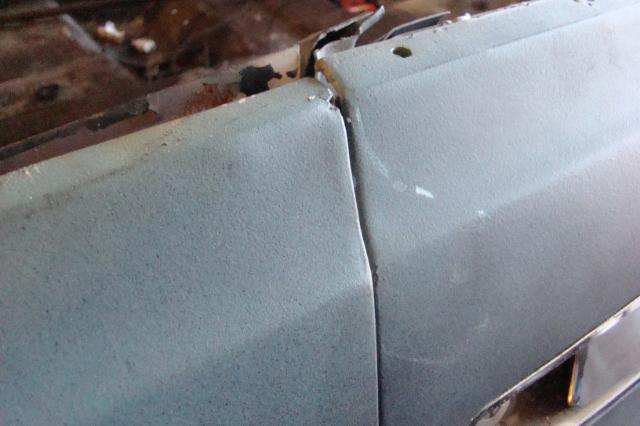
You can see the back is too high, the front is too low, and there is no
gap at the bottom at the rocker panel. So the front of the door has to come up,
the back of the door has to go down. This will require two adjustments at the
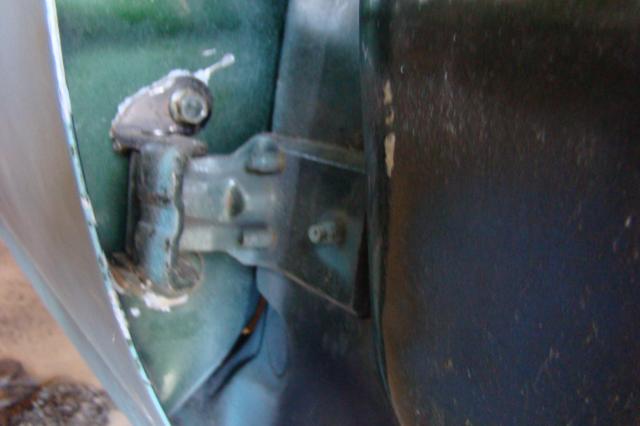
hinges. With the fender off, this is easy. Here are the hinges (and I was
concerned when I saw the "bubble"-it was just stuff in the primer, no rust):
Upper:
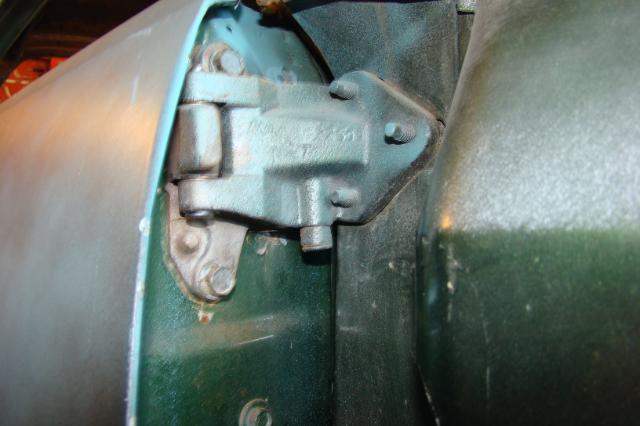
Lower:
First, the whole door has to come up to give me a line at the rocker
panel. To accomplish this, all 4 hinge bolts have to be loosened at the door and
the door raised. I lift it enough to get a good gap at the very front of the
door at the rocker. However, lifting the whole door will raise the back even
more. Once lifted, I check the gap at the front and tighten the bolts.

Now the rear of the door has to be lowered. This is accomplished by
loosening the bolts on the bottom hinge where it attaches to the car body (NOT
the door). You only loosen the bolts enough to move the door, so only a half
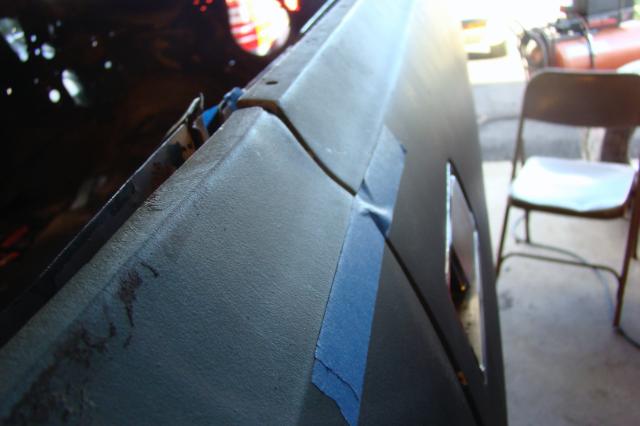
turn may do it. Check the top of the door and body lines. The rear of the door
now is up almost a half inch, so I let it drop some and check the gaps. (I put
blue tape on the line for the pictures).
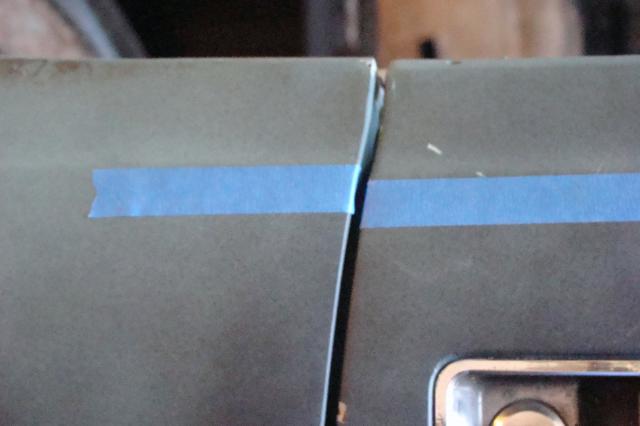
Too much! Just loosen the bolts again and trial and error. Here it is
lined up:
Now check the gaps along the rocker panel:

The different colors and light make it seem off, but the gap along the
quarter is a nice even line.
Next we check the gap along the quarter panel. Too tight, the door has to move forward. Too wide, the door has to move back. This is done by loosening the top and bottom hinges and moving them both in the same direction, then tightening them up.
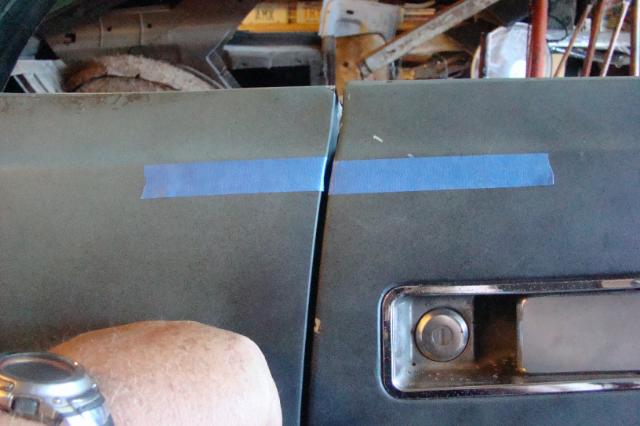
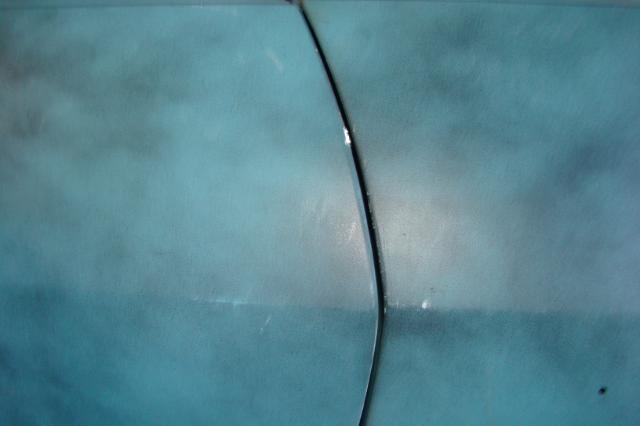
Okay, we have a problem:
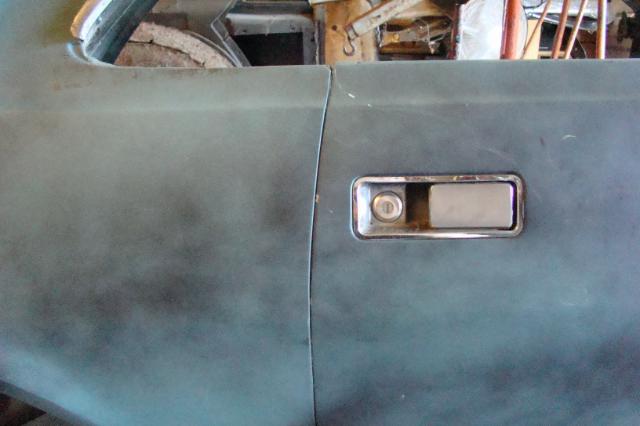
The gap between the door and the quarter at both the top and bottom
third of the door is perfect. However, the middle third is too tight.
Unfortunately, there is no adjustment for this. This is a result of how the
quarter was hung when it was replaced. The door cannot be shaved as it would
detach the door skin from the frame. Maybe some hammer/dolly work on the quarter
will help. So lesson learned-if you are going to hang a panel, adjacent panels
must also be aligned correctly. Just the bad hinges on the door would effect the
quarter. Right now, I'm thinking of just leaving the gap as is. It is not so
tight as it will chip the paint, and the dark color of the paint will help a
little.
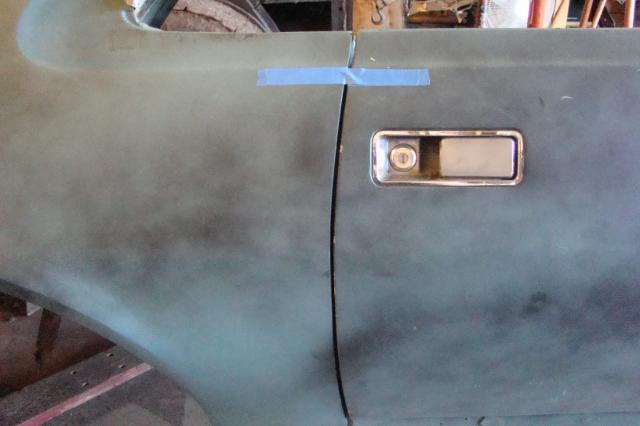
Last adjustment is the in-out movement of the door. Again, check
the gaps at the quarter and near the windshield post. You can see it needs to be
moved:
You will have to decide which hinge to loosen to close the gap. In this
case, it is the top hinge-loosen it and move the door in.
Now it's done:
Again, the pictures do not show the gaps as good as they are.
Okay, small confession: I've done a ton of these doors and actually
checked multiple adjustments at the same time. I just thought it would be easier
if I broke it down one at a time for you. With a little practice it is easy to
do.
Now the fender needs adjustment. I already posted a "teaser" on how to close up
the gap at the cowl, but there were more problems with the right fender: there
was a shim under the rear of the fender when we disassembled the car. AMC did
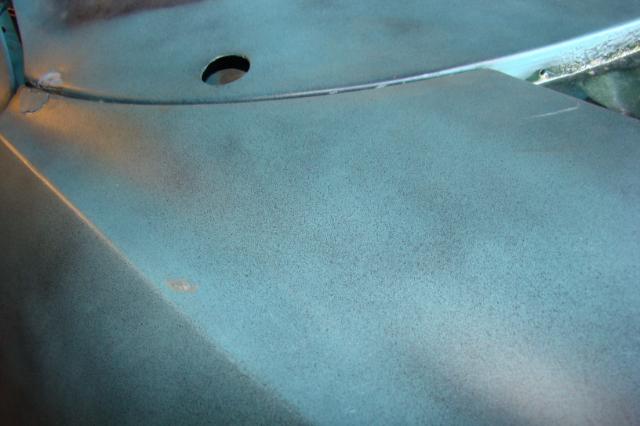
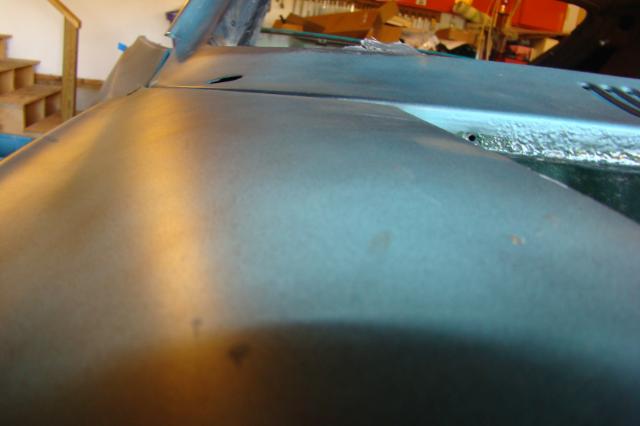
not use shims, so there seems to be a problem. Look at the height between the
cowl and the fender top:
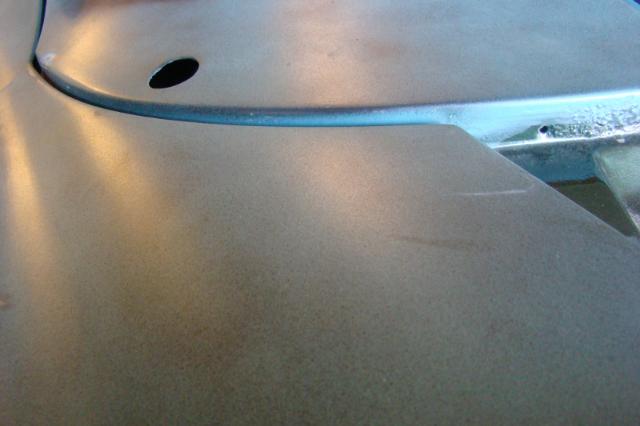
Somehow, the inner part of the fender has dropped down. Hopefully, there
is a problem with the fender. if not, there is a problem with the unibody
– not a
good thing.
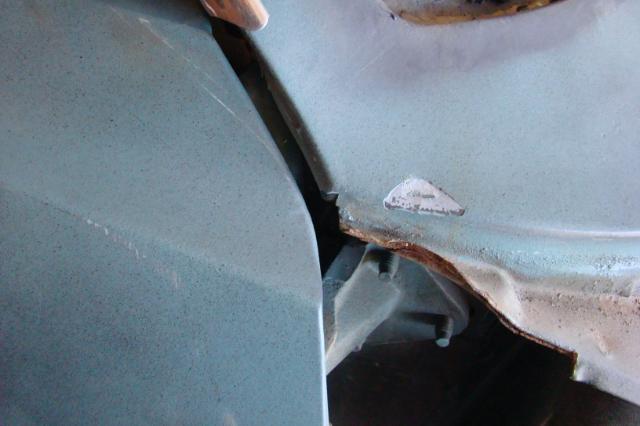
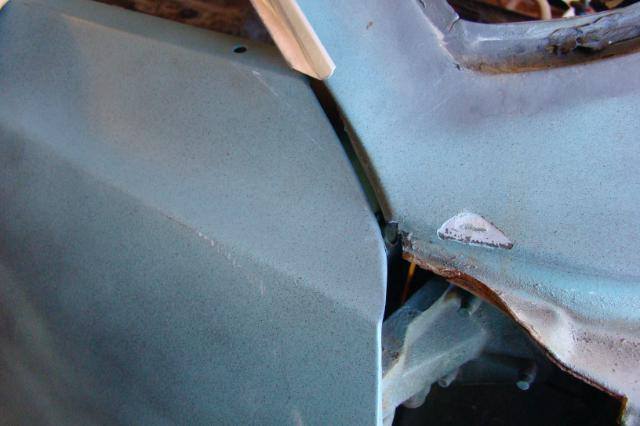
A quick examination shows the problem-the area around the
bolt holes is bent:
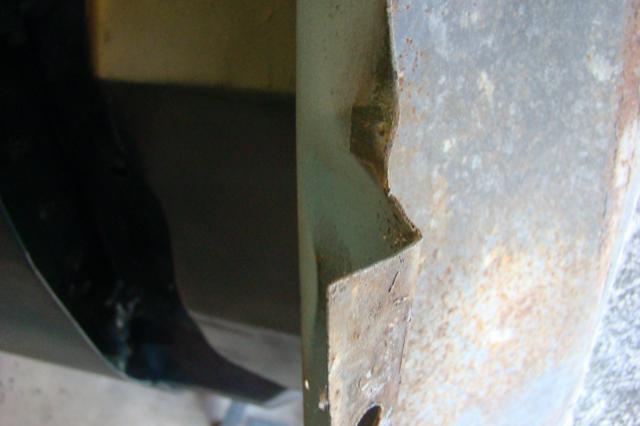
The "V" shape bend in the metal shows this has been dropped, or
something landed on it. A little hammer and dolly work and it is fixed in no
time.
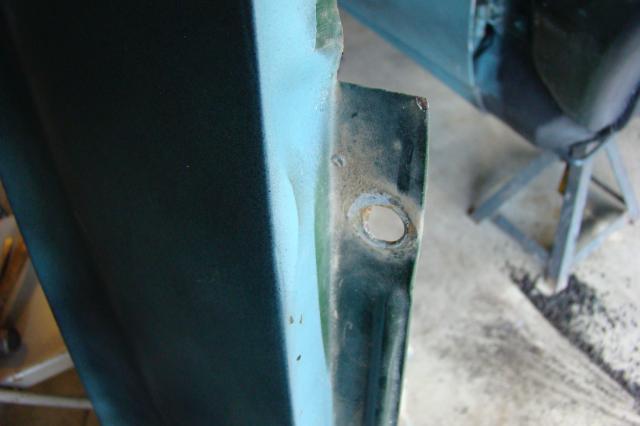
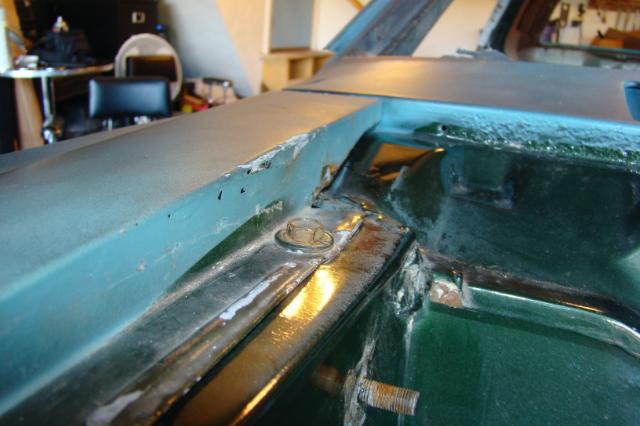
Before hanging the fender make sure these two hole are cleaned
out. The top hole can be vacuumed out from inside the car:
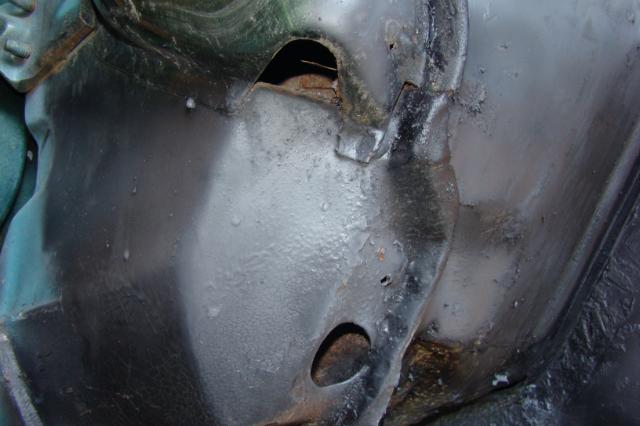
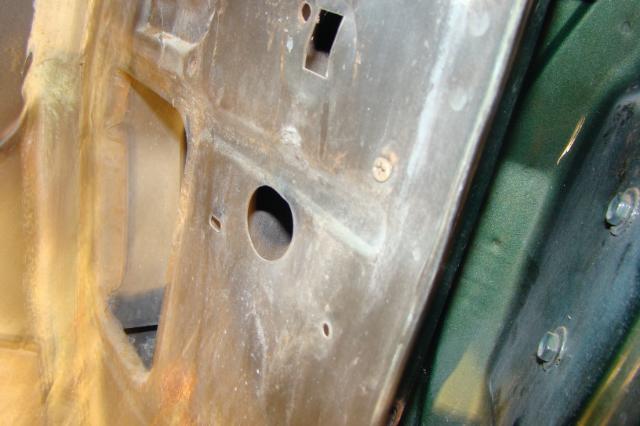
That big square hole in the back leads right to the hole. A ton of
debris is often found here coming from the vent holes in the cowl. In New
England, this is often an area very prone to rust. Once cleaned out, you can
test fit the fender. The fender will fit in between the door and car body at an
angle, then once in place move the rest of the fender in place (and the right
side here will be easier as the hinge windstop and spring are missing). The
fender uses special wide thread bolts. Install the top two rear bolts on the
fender but do not tighten them all the way-just enough to move the fender. Next,
install the inner bolt that everyone leaves out. I tape the bolt AND the socket
together on the extension. This is to keep the bolt from falling in, as well as
the socket. The access hole is the circle shown on the inner panel:
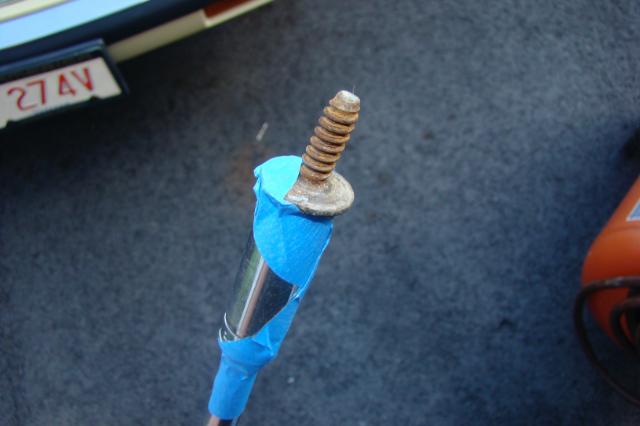
Here is the bolt entering the fender - I turn the extension without the
ratchet to get it started.

This bolt adjusts the fender height. Line up the body lines on the door
with the lines on the fender and tighten the bolt.
Tighten the top bolts and check the gap and fender/cowl alignment-both
gap and height.
Lastly, install align, and tighten the bottom bolt (also usually rusted
out in this area, but not on Hanna!)
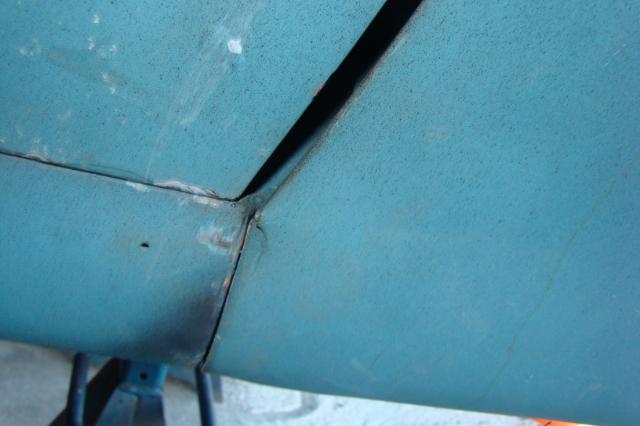
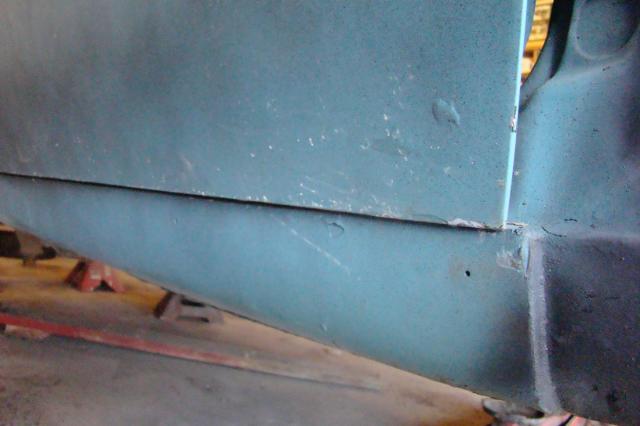
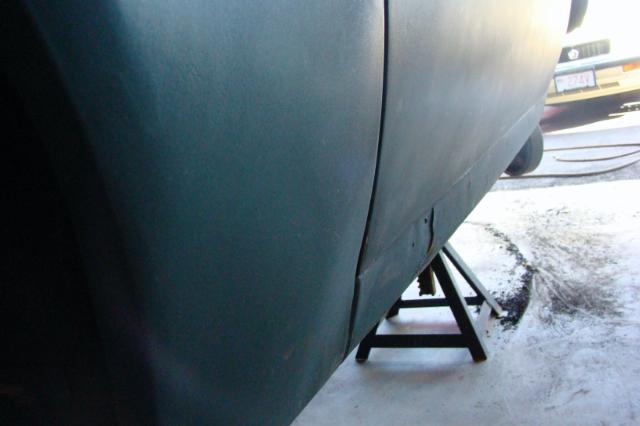
Okay, another problem. the bottom of the fender is bent out, causing the
gap to be too large. I am surmising the fender was pulled off the car without
breaking the brazed area (this is brazed because of the irregular shape. The
fender follows the rocker panel, then bends outward to follow the door). This
is going to require some body work at another time as it is too late today.
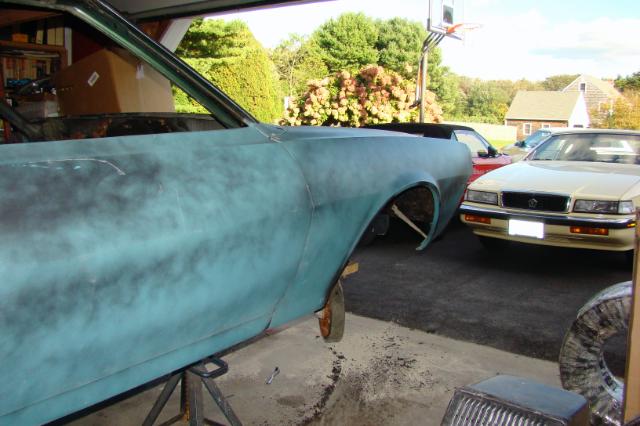
So here is a side view of the passenger side of the car:
Editor's note: In addition to the progress reports here, Tom Benive is posting a restoration log at http://theamcforum.com/forum/forum_posts.asp?TID=6258 featuring Hanna. Besides having a lot of pictures, Tom is doing a wonderful job of providing a step by step description of what is happening along with sharing a lot of very good tips. This update is a small sample of what Tom is sharing.