Matt's Old Cars.com
Fiddling with Rambler's since 1995
Project Charity: AMX
Technical Information
Photo Gallery
Rambler American Restoration
1978 El Camino
1967 Rambler American
2007 Dodge Ram
1984 Dodge Ramcharger
Links
FAQ
Send me an e-mail:
Contact Form
Back to American Restoration Index
Heater Box
Part 4 - Installing Air Door Foam (continued)
May 18, 2008
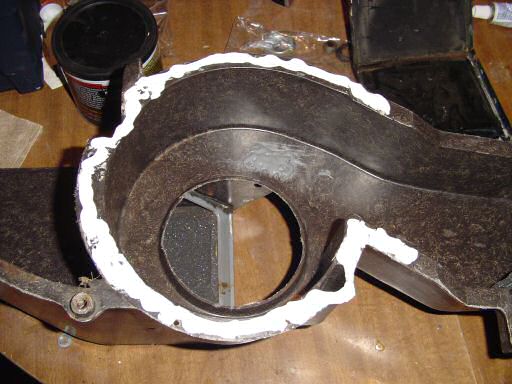
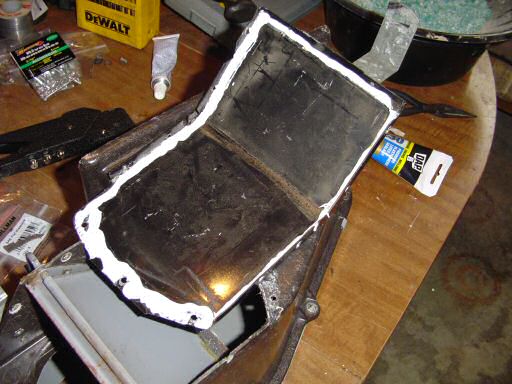
Apply sealant to the heater box as shown below. I used latex caulk (do not use urethane caulk -- it would make it very difficult to take the box apart later) but DMT can supply the rope caulk that was originally used. In case you're wondering what the gray blob is in the box, the chisel I used to cut the rivet heads slipped and I needed to glue to chunk that broke out back in place. I roughed up the box and the piece I broke out with 80 grit sand paper and used JB Weld to hold it in place. BTW, I used way to much caulk. A bunch of it squeezed out when I riveted the parts together.
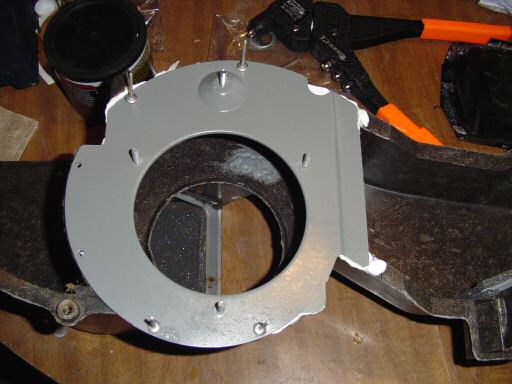
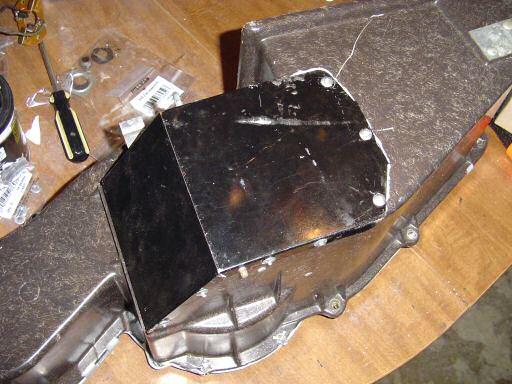
Install the center metal plate and fasten it with four bulb rivets in the positions shown below. You'll notice that the paint is mottled looking. That was not intentional but was due to a problem with the valve on the spray paint can I used. Also, you'll notice I fixed the top stud. Once the old one was cut out, I simply tack welded a 3/4" 10-24 screw into place.
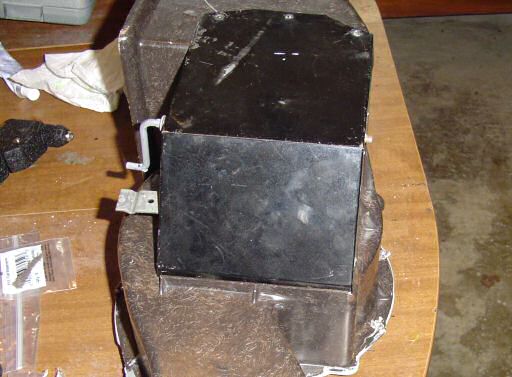
Install the left section of metal and use two more bulb rivets to hold it in place.
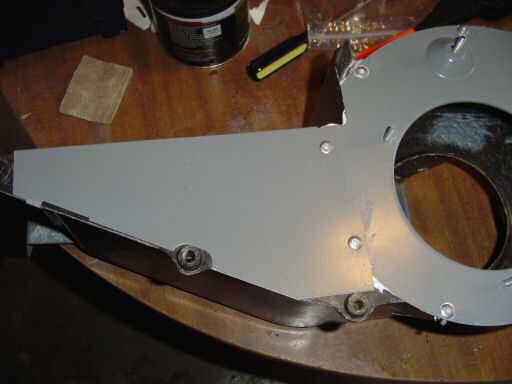
Caulk around where the right section of metal goes (including where the center and right parts meet) and attach it to the box by bending the tabs back in place.
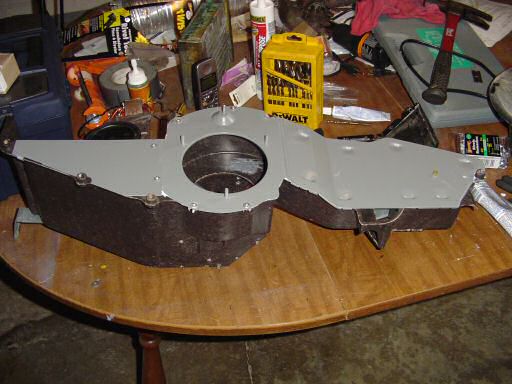
Once all of the metal parts are installed, clean off the excess caulk, flip the box over, and apply sealant as shown below.
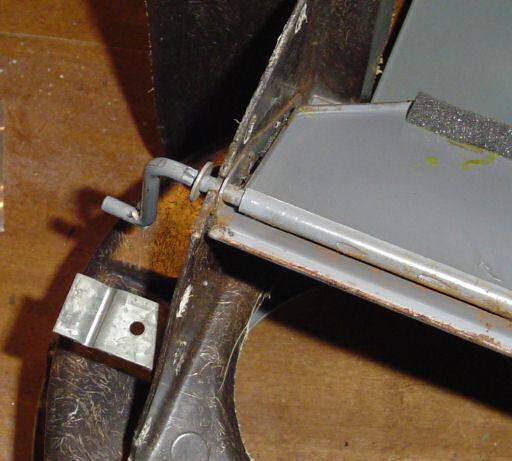
Make sure to move the washer on the air door arm out of the way.
Install the cover. Make sure the end of it is in the slot as shown or it will not sit on the box properly.
Install 11 more rivets to hold the cover in place. When you install the rivets, make sure the air door is closed so you don't pin it open!
Once finished with the rivets, clean up any caulk that squeezed out.
Up next: Blower Motor Assembly
Last Updated 05/26/08 12:12:12 PM